
What Makes Auger Attachments Improve Skid Steer Drilling Performance
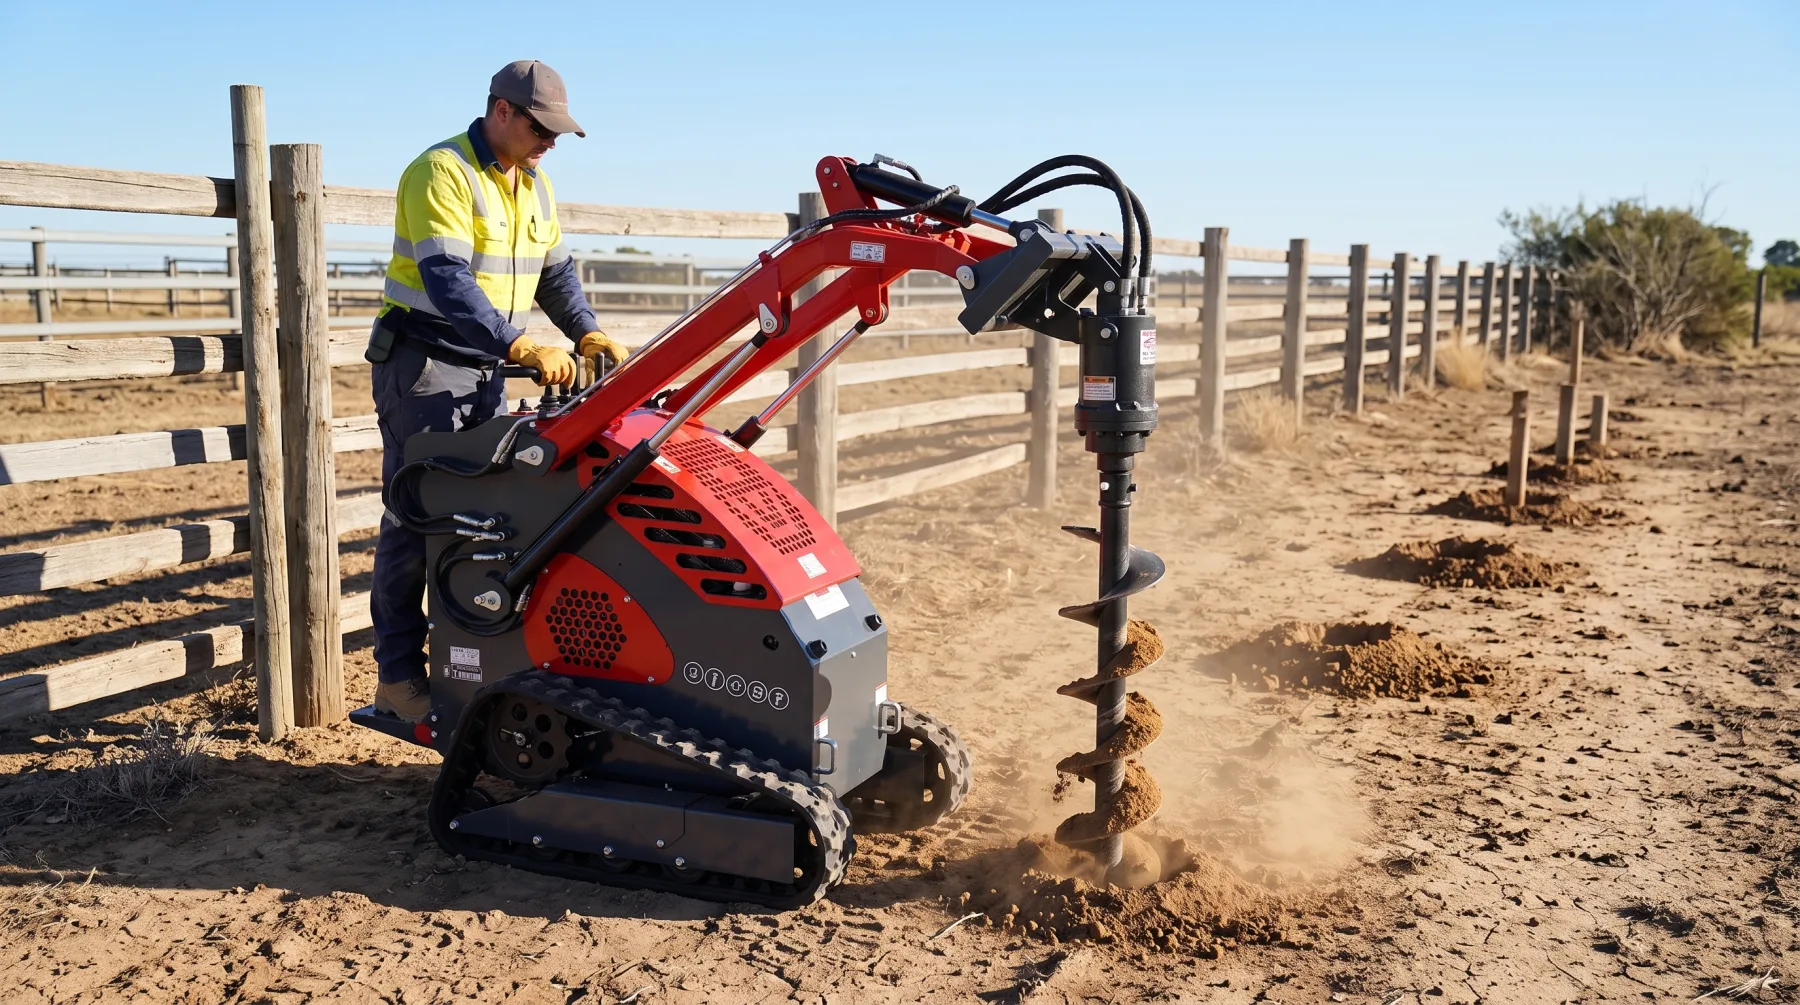
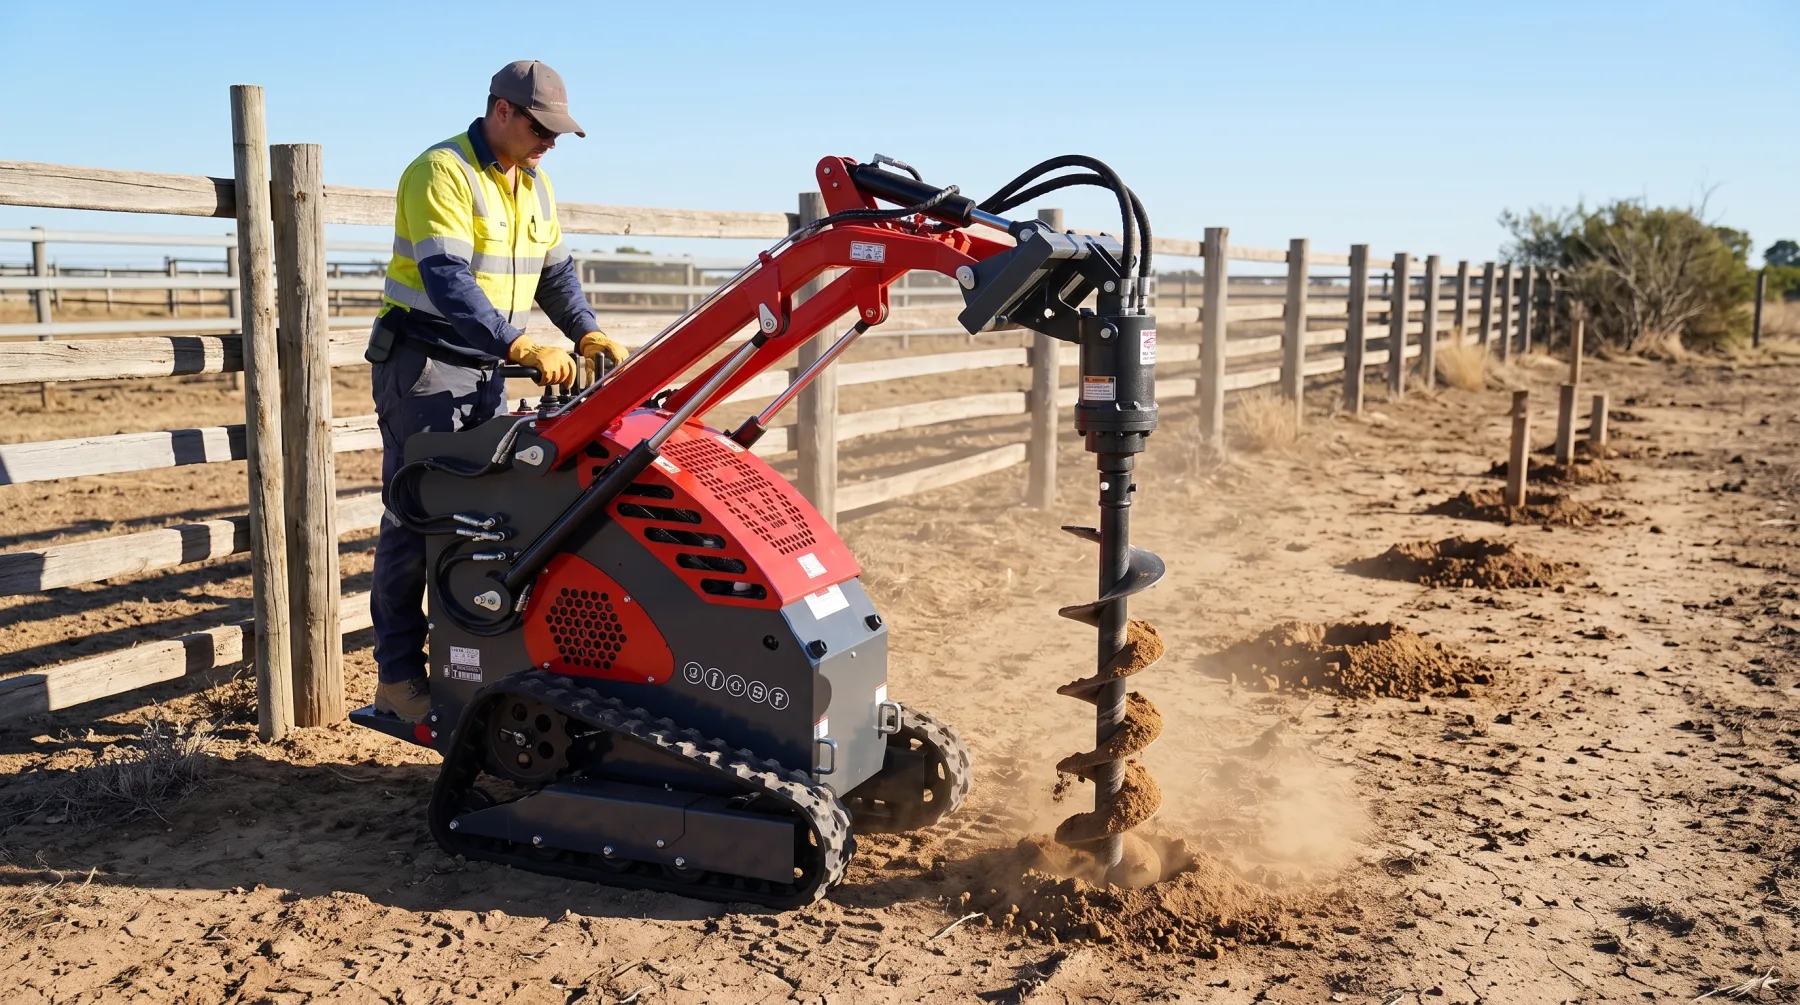
You pull up to a fence line with forty post holes to dig, hop off the skid steer, and reach for the hand auger out of habit. Two holes in, your shoulders are burning, the third hole hits a root, and you realize you’ll lose the whole day to a job the machine parked behind you could finish before lunch. Bolt on the right auger attachment, match the bit to the ground, and set the hydraulics correctly, and those forty holes become a steady rhythm of clean, plumb bores. Get the pairing wrong, though, and you’ll stall in hard ground, spin uselessly in clay, or burn out a motor that never matched your machine.
An auger attachment turns a skid steer into a fast, precise drilling machine, but only when the attachment, the hydraulics, and the ground conditions work together. Understanding how the auger interacts with the skid steer is essential for achieving efficient, accurate drilling. Hydraulic flow and torque determine drilling power, while choosing the right bit for the soil directly affects speed and hole quality. Depth and diameter also influence the demands placed on the machine, making proper attachment selection just as important as operating technique. Recognizing common performance issues early and knowing what to consider before purchasing an auger attachment will help you drill more efficiently, reduce unnecessary wear, and achieve consistent results across a wide range of applications.
How Auger Attachments Work With Skid Steers
The performance of an auger attachment depends on how well it works with the skid steer that powers it. Rather than operating independently, the auger uses the machine’s hydraulic system to generate the rotation needed to cut into the ground. This connection between attachment and machine determines drilling speed, control, and overall efficiency.
The skid steer supplies hydraulic flow and pressure to the auger motor, which converts that power into rotational force to cut through soil, clay, and other materials. The attachment’s performance depends on the match between the auger drive, bit size, and machine capacity. When these components work together properly, operators get cleaner holes, faster drilling, and better control on the jobsite.
The Core Components
An auger attachment has three main parts working together. The auger drive is the hydraulic motor and gearbox that converts your machine’s oil flow into rotating force. The output shaft connects that drive to the bit. And the auger bit itself, the spiral of flighting wrapped around a central shaft, cuts into the soil and carries the spoil up and out of the hole.
Each part depends on the machine feeding it. The skid steer’s auxiliary hydraulics send pressurized oil to the drive motor, which spins the bit, while the operator uses the loader arms to control down-pressure and lift. Take away any one link, and the system stops drilling cleanly.
The Skid Steer’s Role in the Partnership
Your skid steer supplies two things the auger can’t provide on its own: hydraulic power and physical positioning. The auxiliary hydraulic circuit powers the rotation, while the machine’s arms and frame hold the auger steady, apply controlled down-force, and lift it clear once the hole is bored. That combination is what makes machine drilling so much faster and cleaner than any manual method.
The pairing has to be balanced, though. An auger drive rated well beyond your machine’s hydraulic output won’t reach its potential, and one that outstrips your hydraulics can stall or overheat. Matching the attachment to your specific skid steer is the first step toward strong drilling performance.
Takeaway: An auger attachment is a hydraulic partner that spins a bit using your skid steer’s power and positioning, so the drilling is only as good as the match between attachment and machine.
The Role of Hydraulic Flow and Torque
If one thing separates a skid steer that drills effortlessly from one that struggles, it’s hydraulics. Flow and torque are the two numbers that decide how fast and how forcefully your auger turns, and understanding them is the key to sizing a setup that actually performs.
Hydraulic flow determines how quickly the auger motor receives power, while torque controls its ability to break through tough ground conditions. A proper balance between the skid steer’s hydraulic capacity and the auger attachment ensures steady rotation, efficient drilling, and less strain on both the machine and attachment.
Flow: How Fast the Auger Spins
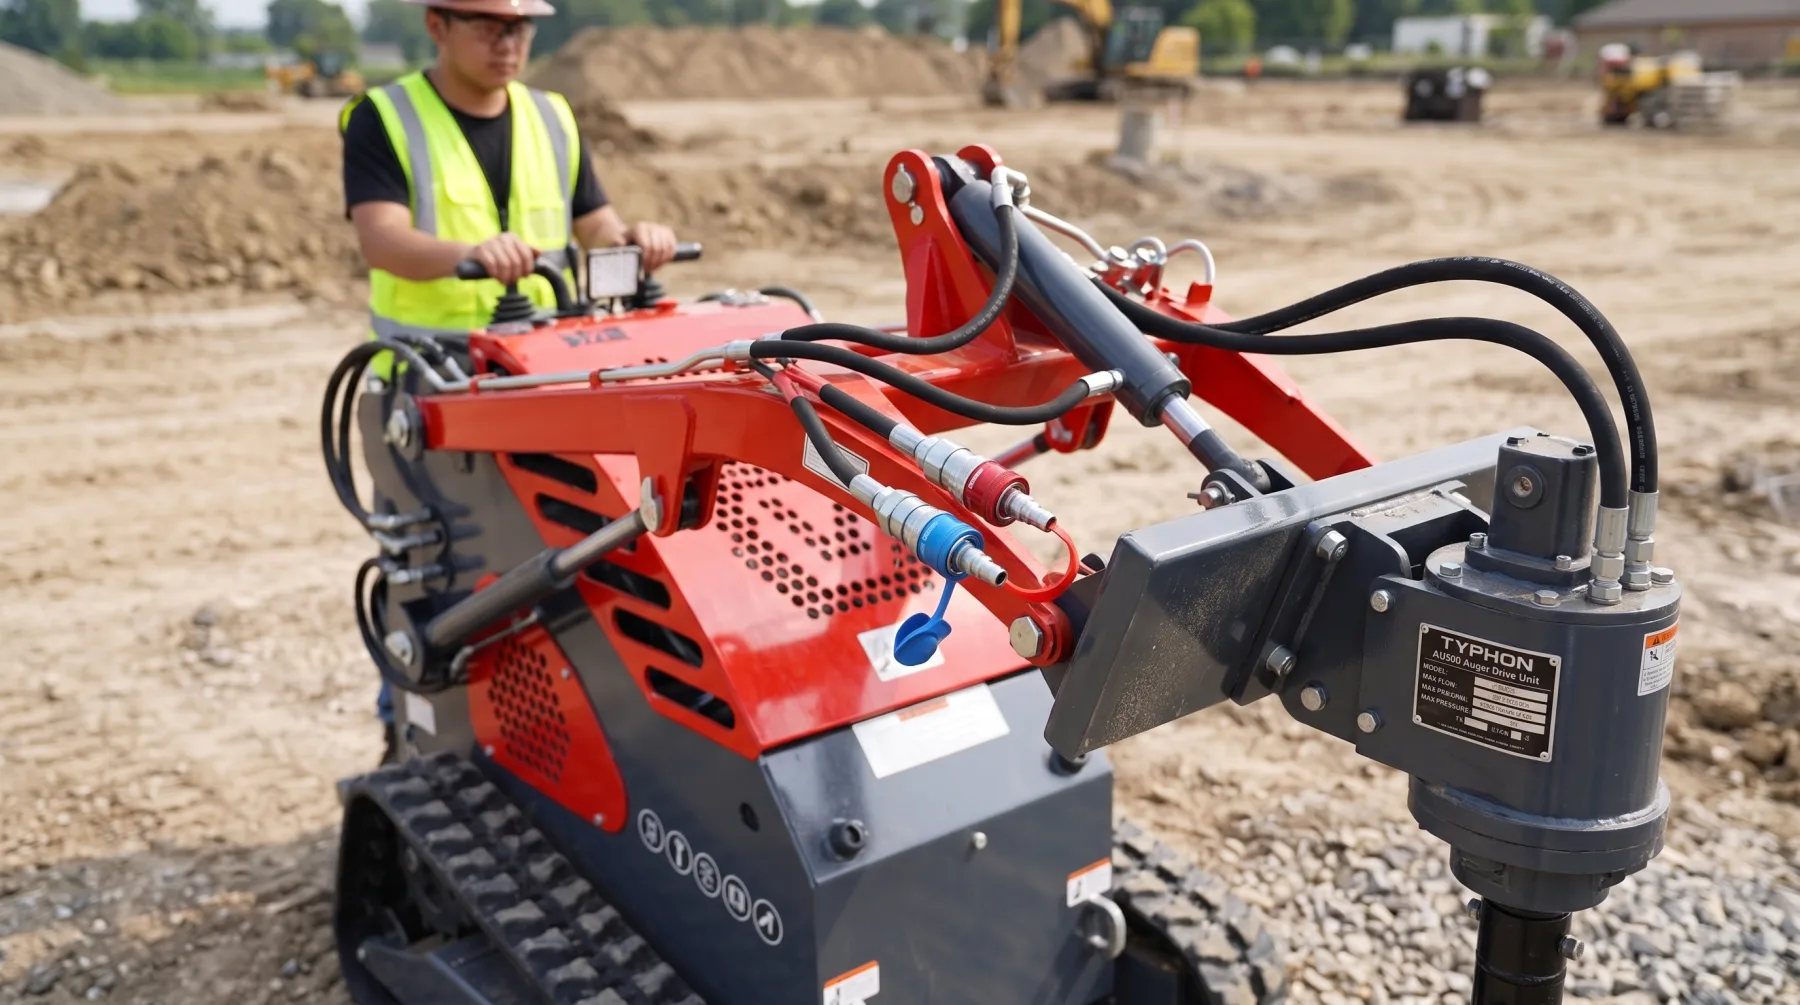
Hydraulic flow, measured in gallons per minute, determines your auger’s rotational speed. More flow spins the bit faster, which speeds up drilling in soils that cut easily. Every auger drive lists a recommended flow range, and your skid steer’s auxiliary circuit delivers a certain flow, so the goal is to match the two.
Feed an auger too little flow, and it turns slowly and lacks the speed to clear ground efficiently. Feed it too much, and you risk overspeeding the motor and generating excess heat. Knowing your machine’s rated flow, and whether it offers standard or high-flow auxiliary hydraulics, tells you which auger drives will run in their sweet spot.
Torque: The Muscle That Breaks Ground
If flow is speed, torque is strength. Torque is the twisting force that lets the auger keep turning when the ground fights back, and it’s what actually breaks through hard, compacted, or rocky soil. A drive with high torque bites into tough ground and keeps rotating where a weaker unit would simply stall.
Torque comes from hydraulic pressure working through the drive’s gearing. This is why a low-torque setup spins fine in soft dirt but stops cold the moment it hits clay or rock. When you expect demanding ground, torque matters far more than raw speed, so you size the drive for the resistance you’ll actually face, not the easy digging.
Takeaway: Flow controls how fast the auger spins and torque controls how hard it can push through resistance, so match both to your machine and your ground rather than chasing one number alone.
Depth and Diameter Considerations
Two numbers define the hole you need: how deep and how wide. Both place real demands on your setup, and understanding them keeps you from choosing an auger that can’t finish the job or a skid steer that can’t deliver the required hydraulic output.
Larger diameters require more hydraulic power and torque, while deeper holes demand consistent performance as the bit moves farther into the ground. Choosing the right combination of bit size, auger drive, and skid steer hydraulic capacity helps maintain drilling speed, reduce component stress, and ensure efficient operation in varying ground conditions.
How Diameter Affects Power Demand
Diameter drives torque demand more than almost anything else. A wide auger displaces far more soil per rotation than a narrow one, so it needs significantly more torque to keep turning. A drive that spins a 6-inch bit through clay with ease may stall hard trying to turn an 18-inch bit through the same ground.
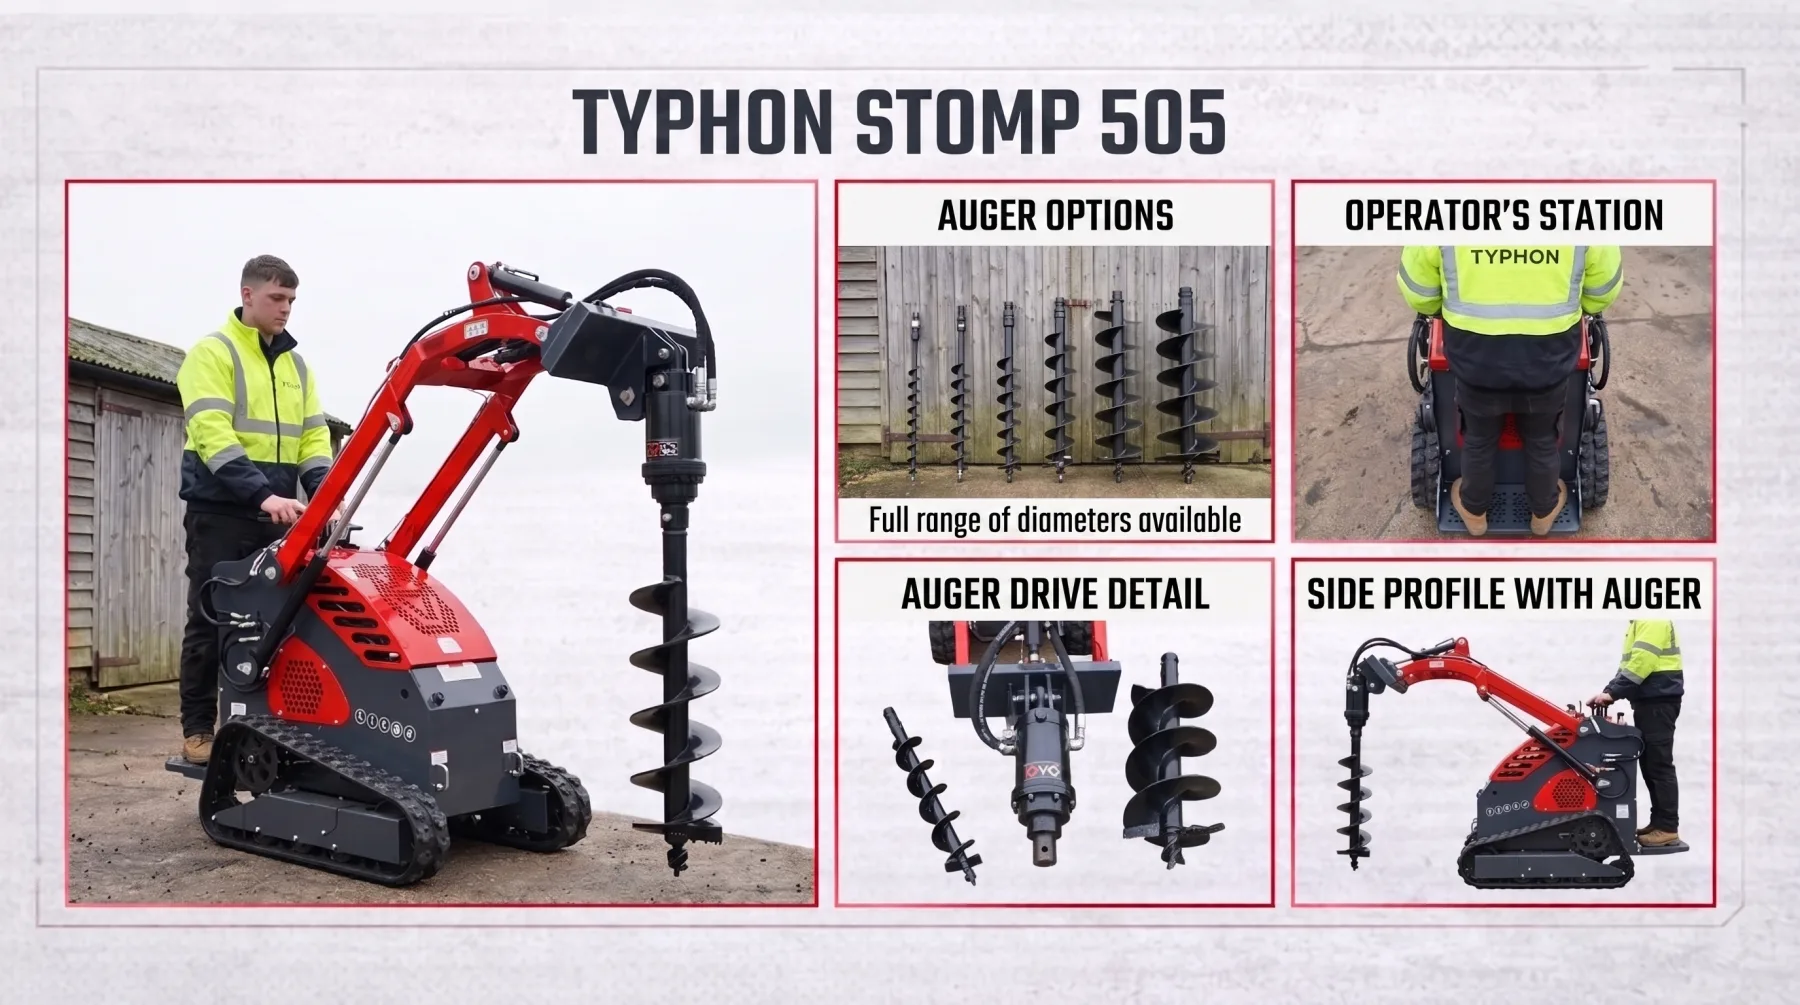
That’s why diameter and torque must be considered together. When you step up the bit size, confirm your drive and your skid steer’s hydraulics can supply the extra twisting force, or you’ll trade productivity for a stalled, overheating setup. Sizing for the largest hole you’ll routinely drill keeps performance consistent.
Reaching Depth With Extensions
Most auger bits reach a standard depth, and when you need to go deeper, an extension adds length between the drive and the bit. Extensions let you bore deeper footings and posts, but they change how the setup behaves. The added length can make the auger harder to keep plumb and shifts more strain onto the drive.
Plan depth realistically. For deep holes, work in stages if needed, clear spoil regularly so the flighting doesn’t pack, and make sure your down-pressure and torque hold up at full extension. Knowing your true depth requirement before you buy tells you whether a standard bit or an extension-ready setup fits the work.
Takeaway: Larger diameters demand more torque and deeper holes demand extensions and careful spoil management, so size your setup for the actual depth and width the job requires.
Common Performance Problems and How to Prevent Them
Even a well-matched auger setup runs into trouble when maintenance slips or technique drifts. The good news is that nearly every performance problem is predictable, and catching the causes early keeps you drilling instead of troubleshooting.
Most auger issues come from worn components, incorrect operation, or a mismatch between the attachment and machine. Regular inspections, proper drilling techniques, and timely maintenance help prevent slow performance, reduce wear, and keep the system working efficiently on every job.
Stalling, Overheating, and Slow Drilling
Stalling is the most common complaint, and it usually traces to a mismatch or dull bit. An auger too large for your hydraulics, worn teeth, or ground harder than your torque can handle will all bog the drive down. The fix is matching diameter to torque, keeping teeth sharp, and letting the auger cut at its own pace instead of forcing it.
Overheating and sluggish drilling often point to hydraulics. Flow outside the drive’s range, low or contaminated hydraulic oil, or an overworked circuit all generate heat and rob speed. Running the auger within its rated flow, keeping the oil clean, and giving the system a rest on heavy jobs keeps temperatures and performance where they belong.
Auger Walking, Wobble, and Uneven Holes
An auger that “walks” away from your mark or drills a crooked hole usually starts wrong. Without a sharp pilot point and a steady, level start, the bit wanders before it bites. Beginning slowly, keeping the machine and attachment plumb, and letting the point center the hole before adding down-pressure produces straight, clean bores.
Wobble and vibration signal wear or looseness. Bent bits, a worn output shaft, loose mounting pins, or damaged teeth throw the auger off balance and stress the drive. A quick inspection of the bit, shaft, and connection points before drilling catches these issues before they ruin holes or damage the attachment.
Takeaway: Match diameter to torque, keep bits sharp and hydraulics clean, and start every hole plumb and slow, and you’ll avoid the stalling, overheating, and crooked holes that plague poorly managed setups.
Conclusion
An auger attachment turns a skid steer’s hydraulic power into controlled drilling force, but the results depend on how well the setup is matched. Hydraulic flow determines drilling speed, torque controls how effectively the bit breaks through tough ground, and the correct bit size and tooth design ensure the attachment performs properly in different soil conditions. When the auger drive, bit, and machine specifications work together, operators can create cleaner, straighter holes with fewer interruptions and less strain on the equipment.
Consistent drilling performance comes from preparation and proper operation rather than simply adding more power. Checking hydraulic flow and pressure, choosing the right bit for the material, inspecting teeth and connections, and starting each hole with controlled positioning all help prevent common issues like stalling, overheating, and uneven drilling. By matching the auger system to the skid steer and job requirements, operators can improve productivity while protecting both the attachment and the machine.
Frequently Asked Questions
Do I need high-flow hydraulics to run an auger attachment on my skid steer?
Not always. Many auger attachments work well with standard-flow hydraulics for common drilling jobs. High-flow is mainly useful for larger bits, tougher soil, or faster drilling demands. The most important step is matching the auger drive’s flow requirements with your skid steer’s hydraulic output.
Can one auger drive use different-sized bits?
Yes. Most auger drives can handle multiple bit sizes, but the main limit is torque. Larger bits need more power, especially in hard or rocky ground. Choose a drive that can handle your largest regular bit, then use smaller sizes as needed.
Why does my auger spin but fail to dig into the ground?
A spinning auger that does not cut usually has worn teeth or a dull pilot point. Damaged cutting edges reduce the ability to break through soil and can cause the bit to simply rotate without digging. Inspect the teeth and point regularly, and replace worn parts to restore performance.